


Uxbridge show turned out be to a wet affair this year with heavy showers.
This still didn't stop the Thames Valley members from having a good day out.
Next up for the S7 is its MOT !!
 We have spent the weekend camping at Bob & Sylvia's of there Kit & Classic Car BBQ weekend.
 Becks at her post on the gate.
 A4BBA had us all rocking well into the small hour
 Myself and six other members from the TVH Area took our cars along to the classic car evening run by the Hants & Berks Classic Car Club for a chat last Friday.


 Ford Escort MK ll
 GT 500
 General Lee


 On the way back from the TVH Xmas lunch I noticed that the O/S front headlamp was very dim, the bulb was all ok so this meant there was an earth problem in the wiring loom.
 The loom now has Conduit Tube on it, this should keep any water out.

 Today we had the annual TVH RHOCaR Xmas lunch.
 I now have a new bag for the full weather hood. this allows the hood to be rolled up instead of being folded and stuffed in the boot.
 The hood bag fits to the roll bar and sit on top of thr rear boot cover.
 Well the S7 lives again, cam cover refitted along with the fan and fan belts.
 I have also I have changed the oil and oil filter .
 As I said in the my last post I had the cam belt break on me when we were away the Cotswolds camping trip.
  This cam belt is only a year or so old and as you can see from the above photo it has failed in a big way. On closer inspection it looks like the belt has got contaminated by engine oil as there is hardly any wear on it.
 The engine stripped of its timing gear

 The auxiliary shaft cover removed from the engine block, note the damage to the oil seal.
 The cam shaft oil seal also has a very slight oil weep so I'm going to renew this at the same time.
  The new oil seal fitted to the cam shaft.
 And a new oil seal to the auxiliary cover.

 And a new cam belt, engine is now set back up on its timing marks.
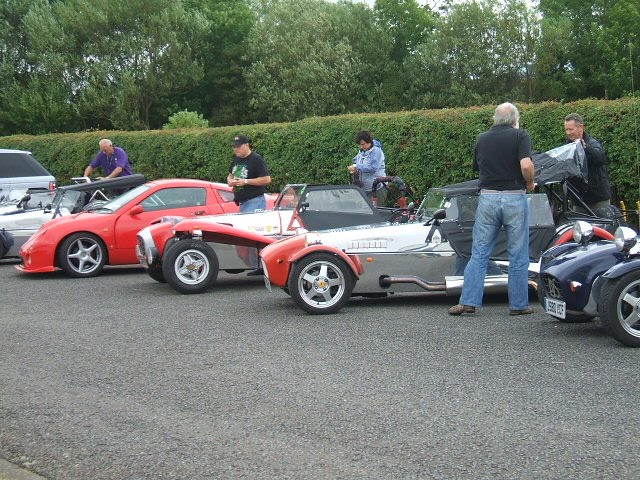


 Hoody Bear at the bar
